Brick Christmas village ideas: plan a display that grows every year
A good brick Christmas village starts with three decisions: one scale for everything (usually minifigure scale), a snowy base you can extend each year, and a layout with a street at the front and taller buildings on a raised row at the back. Then add light, and one building nobody else has, such as a model of your own house.
The ideas below work with official winter sets, your own creations or bricks from the bin, for real LEGO® bricks or compatible ones.
1. Pick one scale and stick to it
Mixing scales is what makes a village look like a pile of sets. Choose one:
- Minifigure scale is what most official winter village sets and fan-built houses use: a house is roughly 16 to 32 studs wide, with doors a minifigure can walk through. It has the most ready-made buildings and accessories, and it needs a sideboard or table.
- Microscale shrinks a house to a few studs wide. A whole town fits on a mantel or a bookshelf, it uses far fewer pieces, and trees can be a single cone-shaped piece.
If you do mix sizes, use perspective: larger buildings at the front, smaller ones on the raised back row, so the difference reads as distance.
2. Build a base you can extend
- White plates make the snow. Leave studs exposed for fresh-fallen snow, and tile paths and roads smooth so they read as cleared.
- Build in modules. Make each section on its own plates (a 32 × 32 baseplate, or 16 × 32 plates joined below with tiles or a second layer) so the village packs away in pieces and grows a module at a time.
- Drifts and edges: white slopes, curved slopes and stacked round plates against walls and along roofs turn flat ground into snowbanks.
- A frozen pond: transparent light blue or clear tiles over white or blue plates, with a few white tiles at the edge as snow.
- Avoid loose fake snow. Flakes and powder work into the gaps between bricks. A felt or batting snow blanket under and around the modules is easier to clean.
3. A layout that looks good from the front
A village is almost always seen from one side, like a shop window. Plan it that way:
- A street along the front edge with figures, lampposts and a vehicle or two.
- A square in the middle with the big tree, a market stall or a skating pond: the place your eye lands first.
- Taller buildings on a raised back row. Boxes or books under the snow blanket lift the back row so every roofline shows.
- Leave an arm’s length of reach. Deep displays are hard to dust and rearrange; two or three rows is plenty.
- A train around the edge, if you have one: it makes the display move, and it frames the village.
4. Light it
- Battery LED fairy lights tucked behind and under buildings, with transparent yellow or clear pieces in the windows, are the easiest start. LEDs stay cool, which matters near plastic.
- Third-party light kits made for specific official sets light rooms, streetlamps and fireplaces with thin cables threaded between the bricks.
- Hide the wires under the base modules and run them to the back, where a battery box or a USB hub sits out of sight.
5. Make your own house the centerpiece
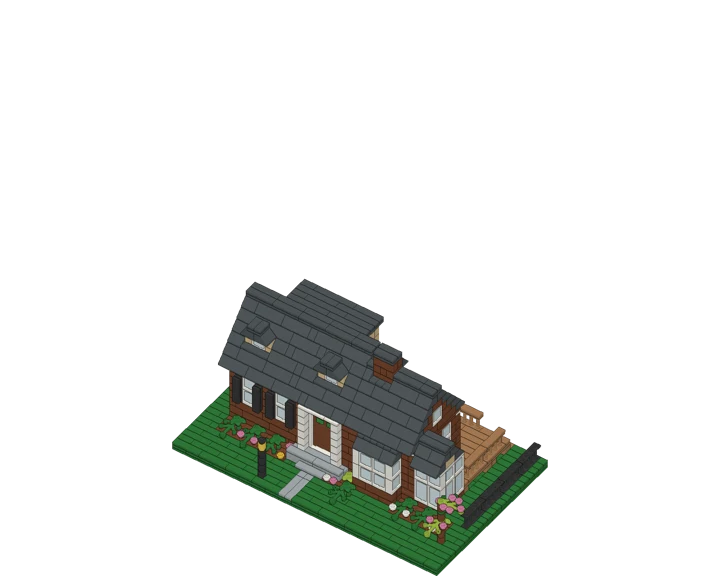
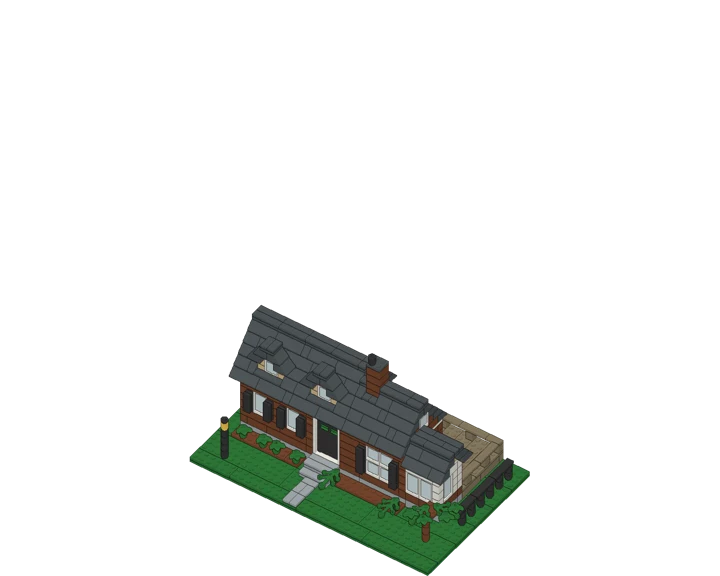
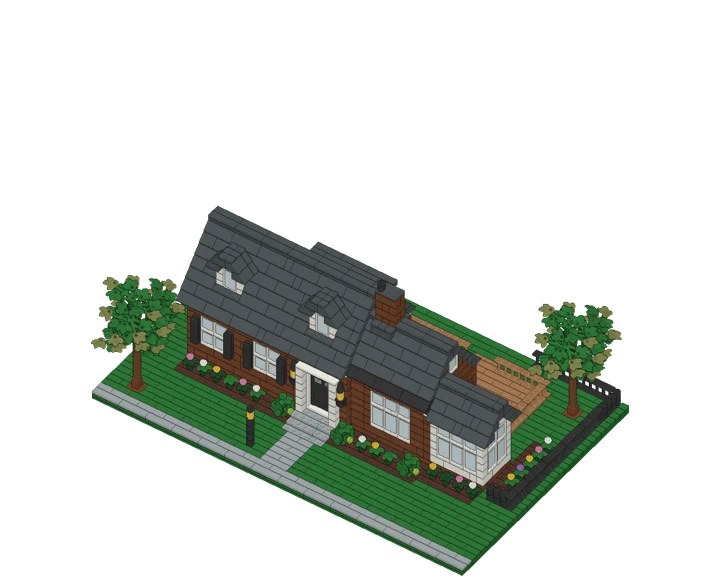
The building every visitor asks about is the one they recognize: your own home, the house you grew up in or your grandparents’ farmhouse. Your World in Bricks designs a custom brick model of a house from your photos, with an illustrated instruction book and a parts list for real LEGO® bricks, for $19 at any size from 500 to 4,000 pieces, ready within 24 hours. Bricks are sold separately, from about $60–$110 for 500 pieces at LEGO® Pick a Brick prices.
- Size it to the display. Our house designs are display models sized by piece count rather than to a fixed minifigure scale. A 500-piece house suits a shelf or the back row; a larger one is the centerpiece of the square, with the village arranged around it.
- Winterize it yourself. The house is designed as it looks in your photos, with no snow or decorations. Add white tiles and plates along the roof edges and the lawn, a wreath on the door and a string of lights along the eaves.
- Simple detached houses only, for now: rectangular walls and a gable or flat roof. If we can’t design it, we refund you.
6. Pack it away so next year is easy
- Photograph the layout from the front and above before you take it down.
- Store each building whole in its own box with tissue, rather than breaking it down.
- Add one thing a year. A new building, a module of base or a light kit keeps the village growing without a big December rush.
Timeline for a new building this Christmas
| Step | How long | For Christmas |
|---|---|---|
| The design (instructions and parts list) | Usually ready in about an hour, delivered within 24 hours | Any time; it is the quick part |
| Bricks: Pick a Brick Bestseller pieces | About 5 days in the US | Order by early December |
| Bricks: Pick a Brick Standard pieces | Up to 28 business days in the US | Order by mid-November, or buy those pieces on BrickLink |
| Bricks: BrickLink | Depends on each store | Fewer stores means fewer parcels to wait for |
| Building | A weekend for a small model, many evenings for a large one | Leave a margin if you’re building it yourself |
Pick a Brick times are LEGO®’s own US estimates (LEGO® Help: delivery timeframes, as of October 2026), and December is busy for every seller. Pick a Brick shows which pieces are Bestseller and which are Standard once the list is uploaded to your bag; our guides compare Pick a Brick and BrickLink and explain uploading a BrickLink wanted list. Running late? Give the printed instruction book on Christmas morning and let the bricks follow.
More Christmas ideas
Questions
What scale is a LEGO® Christmas village?
Most official winter village sets and fan-built villages are minifigure scale, with houses roughly 16 to 32 studs wide. Microscale villages, a few studs per house, fit a mantel or shelf.
How do you make snow for a brick village?
With white plates, leaving studs exposed for fresh snow and tiling paths smooth. Add white slopes and round plates for drifts, and put a felt snow blanket underneath rather than loose fake snow, which gets into the bricks.
Can I add my own house to my Christmas village?
Yes. Upload photos and we design a brick model of your house for $19 at any size, with instructions and a parts list, within 24 hours. It isn’t built to a fixed minifigure scale, so choose the size by where it will stand. Bricks are sold separately.
How do you light a brick village?
Battery LED fairy lights behind the buildings and transparent pieces in the windows are the simplest. Third-party kits made for specific sets light the inside of each building.